Table of Contents
Introduction
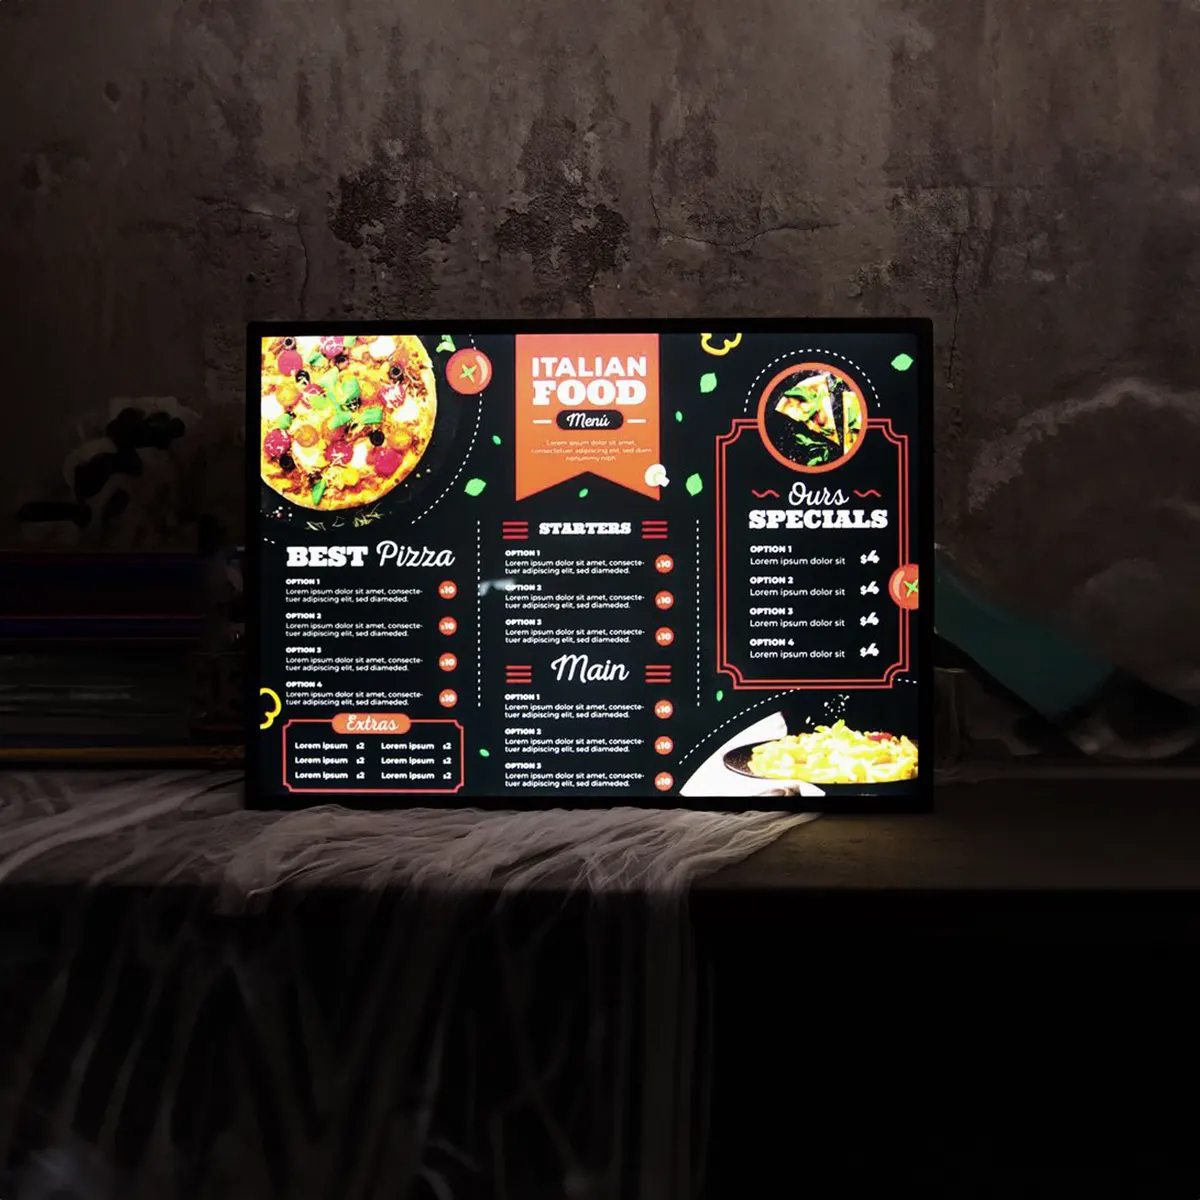
The DIY trend continues to surge, especially for custom projects like LED lightboxes. These projects not only allow for personalization and creativity but are also cost-effective. This guide will walk beginners through creating their own LED lightbox, providing a sense of accomplishment and a new skill set.
Why Build a DIY LED Lightbox?
Creating your own LED lightbox has several advantages:
- Personalization: Tailor the size, color, and pattern to your liking.
- Cost Savings: Typically more affordable than buying pre-made solutions.
- Skill Development: Learn valuable skills in electronics and craftsmanship.
Necessary Tools and Materials
To start, you’ll need:
- Basic tools such as a screwdriver, pliers, and a utility knife.
- LED light strips or panels.
- Acrylic or plywood for the frame.
- Power supply and essential wiring components【9†source】.
Step 1: Measure and Cut the Frame
Begin by defining the lightbox size and cutting your materials to these dimensions. Accuracy is key to ensure the pieces fit perfectly together.
Step 2: Assemble the Frame
Assemble the cut pieces using screws or strong adhesive. Ensure the frame is sturdy and properly aligned. You might also consider adding hinges for access or a stand for support.
Step 3: Install the LED Lighting
Lay out the LED strips within the frame. Ensure even distribution of light by spacing the strips uniformly. Connect these to the power supply, making sure all electrical connections are secure and safe.
Step 4: Add the Diffuser
Cut a diffuser panel to fit atop the frame. This could be a frosted acrylic sheet that softens and evenly distributes the light. Secure it in place, ensuring it’s flat and evenly supported.
Step 5: Finishing Touches
Add any decorative elements or final touches. Test the lightbox to ensure it works correctly, and make adjustments as necessary. Options like dimmer switches or remote controls can be added for enhanced functionality.
Troubleshooting and Maintenance
Should issues arise, check connections and alignment. Regular maintenance includes cleaning the diffuser and checking for any loose components to ensure long-term operation.
Conclusion
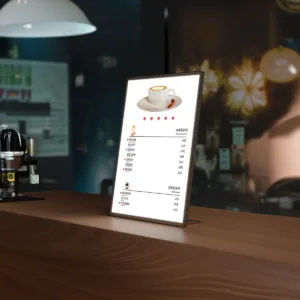
Building a DIY LED lightbox is a rewarding project that enhances your space and skills. With the right tools and guidance, anyone can create a beautiful, functional piece. Embrace the process and enjoy your custom, illuminated creation! If you rather want to buy an existing light box to meet you requirment, you can look at below item: Explore detailed guides and purchase materials for your DIY project.
Related Articles:
- Comparing LED Lightboxes with Emerging Display TechnologiesIntroduction The display technology landscape is rapidly evolving, presenting a wealth of options beyond traditional LED… Read more: Comparing LED Lightboxes with Emerging Display Technologies
- The Evolution of LED Lightbox Technology Over the Last DecadeIntroduction Over the past decade, LED lightbox technology has undergone significant transformation, driven by advancements in… Read more: The Evolution of LED Lightbox Technology Over the Last Decade
- Preventative Maintenance Schedule for LED LightboxesIntroduction Maintaining your LED lightboxes is crucial to ensure their longevity and optimal performance. This guide… Read more: Preventative Maintenance Schedule for LED Lightboxes

